Domain & hosting
If you don’t already have a domain name, you can get one from the likes of Uniregistry or GoDaddy.
For hosting we can wholeheartedly recommend Flywheel. Their “Starter” plan should be enough to get you going (be aware you'll need a separate solution for email).
If money is not an issue, WPEngine is equally as good. There are also numerous cheaper alternatives, such as SiteGround, HostGator or GoDaddy, but your mileage may vary.
WordPress
If the hosting doesn’t already come with WordPress pre-installed, you will need to grab the latest version and upload it via FTP.
Visit /wp-admin/install.php and follow the instruction. You will need your database credentials. Also be sure to set your username to something a bit more unique (definitely not “admin”). For more detailed instructions, check the official WordPress installation guide.
Theme
Purchase Invisible Folio and download the install kit.
Go to Appearance → Themes → Add New → Upload Theme in the Wordpress admin, select invisible-folio.zip and install the theme.
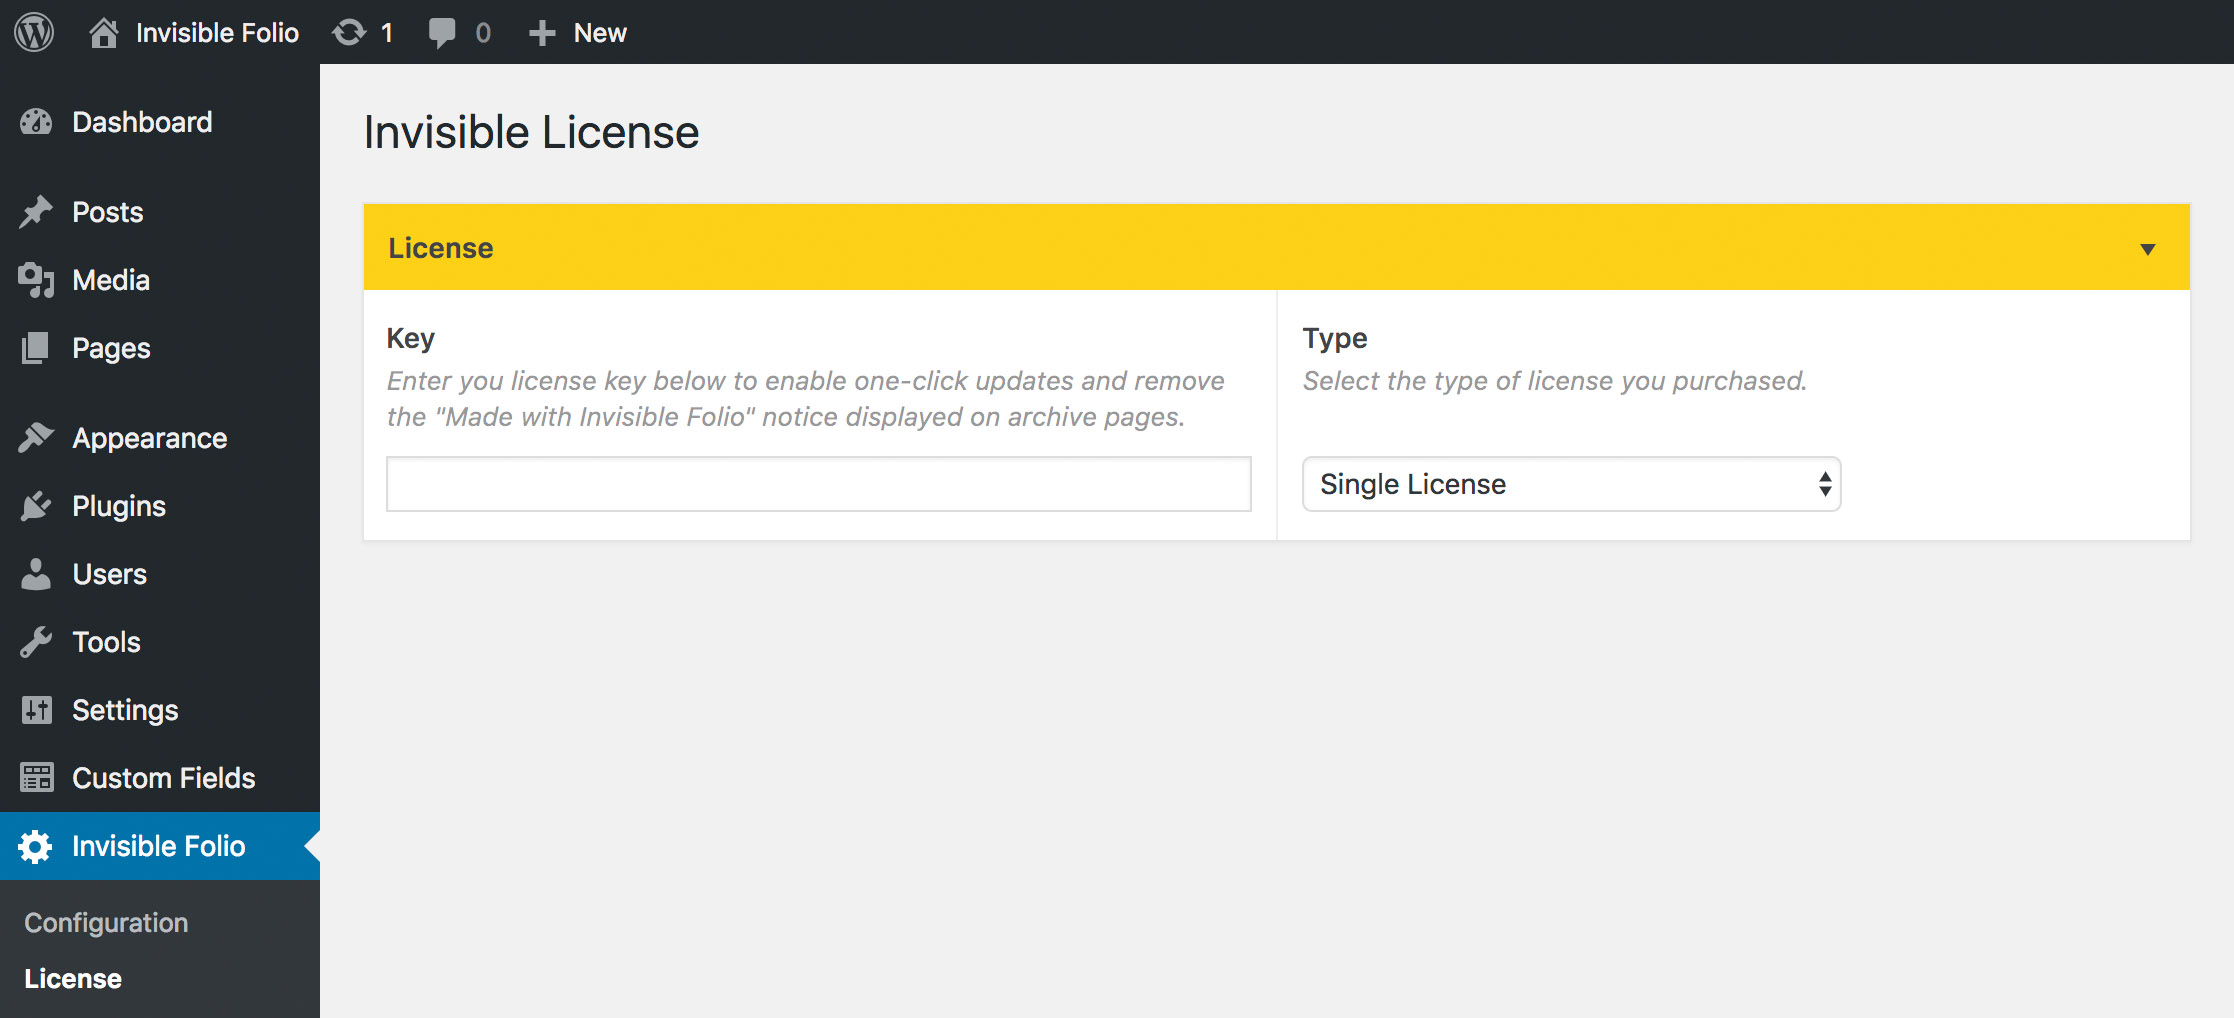
After activating the theme you will be automatically taken to the Configuration page. Go to Invisible Folio → License to enter your license code. This will remove the “Made with Invisible Folio” notice and enable one-click updates.

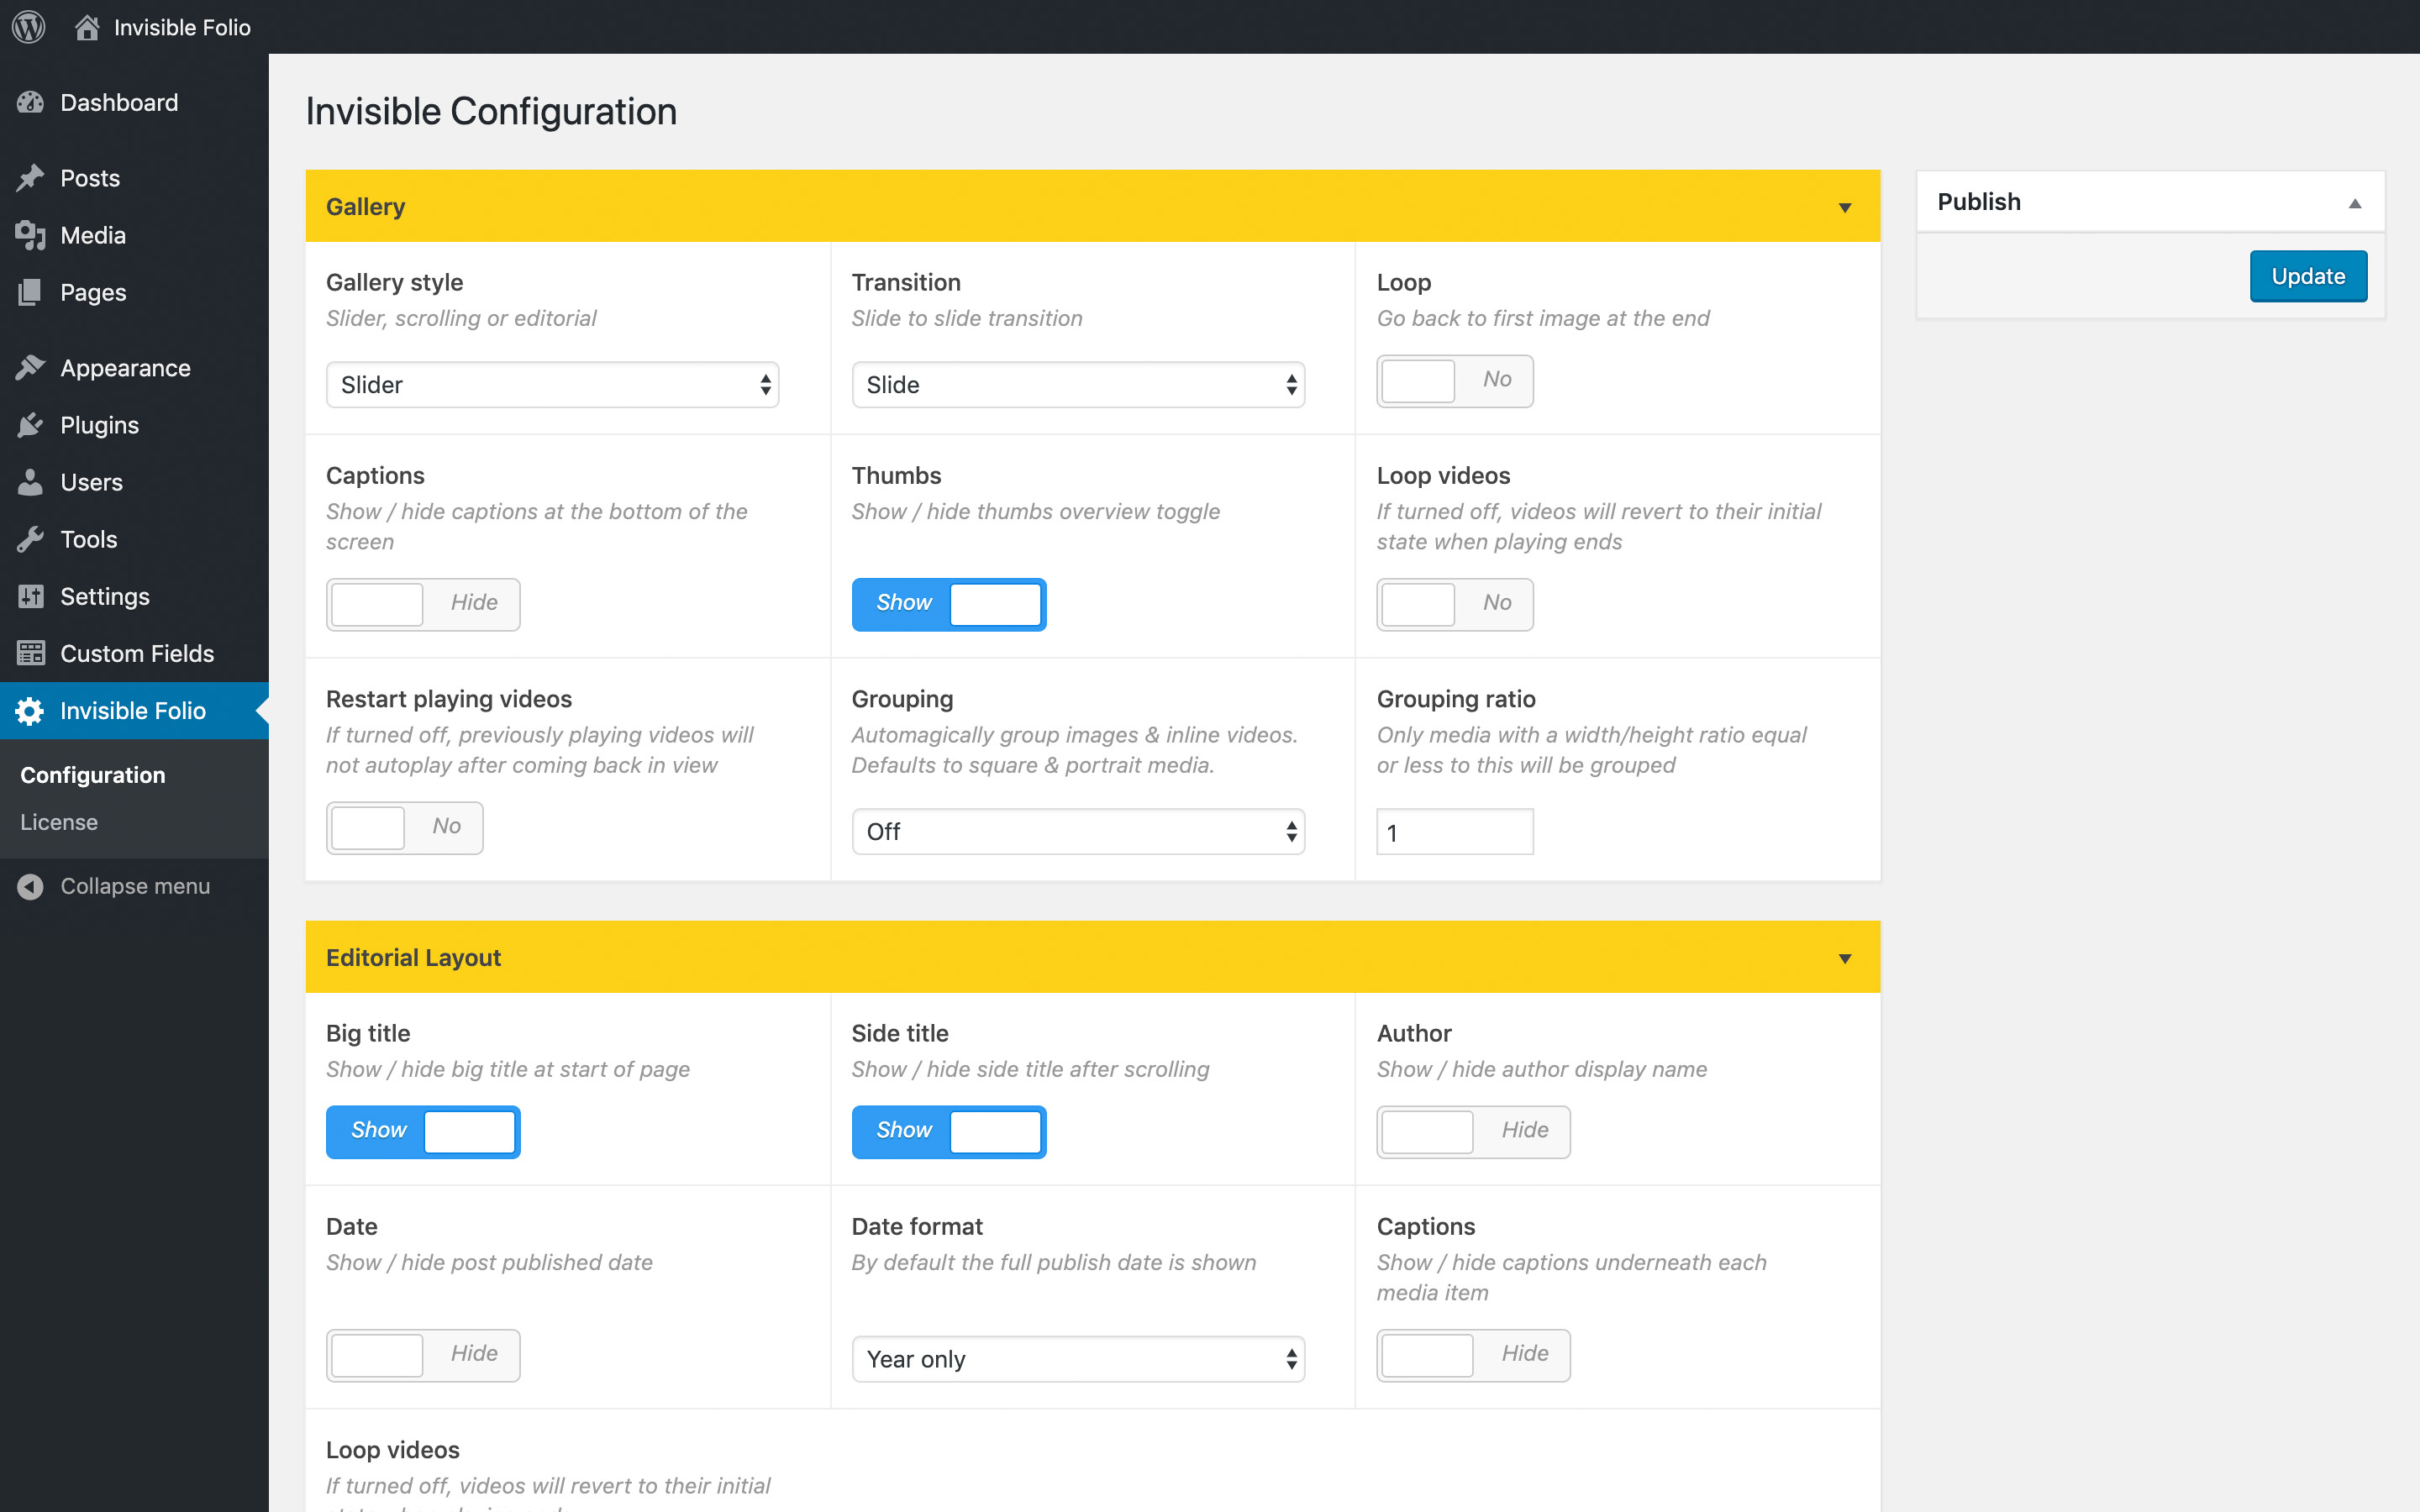
The Invisible Folio → Configuration page allows you to customise the theme to your liking. Visit our configuration guide to learn about all the available options.

Plugins
We recommend the following plugins to enhance your WordPress / Invisible experience. These can be installed either via Plugins -> Add New or by downloading the zip files.
Simple Custom Post Order (strongly advised) - easily re-arrange Posts, Pages and Categories via drag&drop. Install, then activate the plugin and make sure Posts, Pages & Categories are ticked in Settings → SCPOrder.
Yoast SEO (recommended) - offers a solid foundation to make the site more search engine friendly.
Wordfence (recommended) - adds an extra layer of security to WordPress
Safe SVG (optional) - this allows you to safely enable support for SVG uploads